
Selecting the CloudLink configuration tasks for Google account synchronization
To begin the configuration of CloudLink, or to review or modify an existing configuration, you must select the required configuration tasks. CloudLink then takes you through the required configuration steps.
Some configuration steps are not relevant to Google account synchronization. Follow the procedure as outlined below.
Note: If you ran the configuration previously, you must reselect the required configuration tasks.
To select the CloudLink configuration tasks for Google account synchronization
-
Start CloudLink, if it is not already started.
See How to start and close the CloudLink application.
-
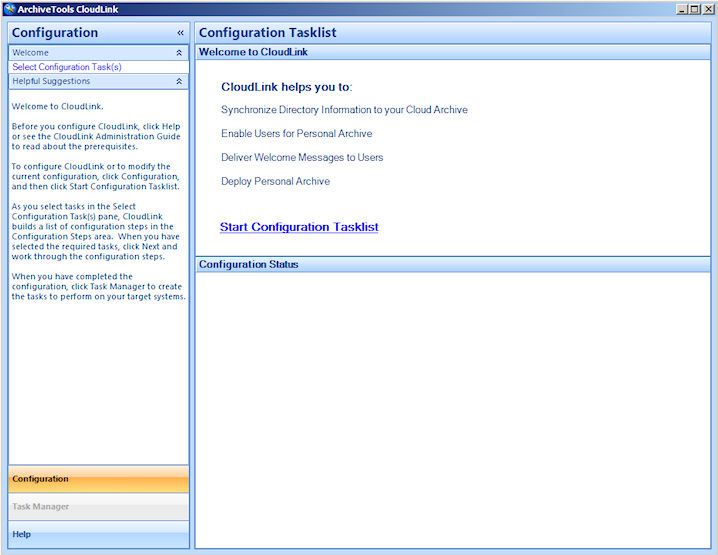
Click the Configuration tab, near the bottom of the left pane.
The Welcome to CloudLinkpage shows the current configuration status of CloudLink. If you have performed any CloudLink configuration steps previously, theConfiguration Status area lists any configuration steps that you have yet to complete.
-
Do one of the following:
-
Click Select Configuration Task(s) in the Configuration pane.
-
Or click Start Configuration Tasklist in the Configuration Tasklist pane.
-
-
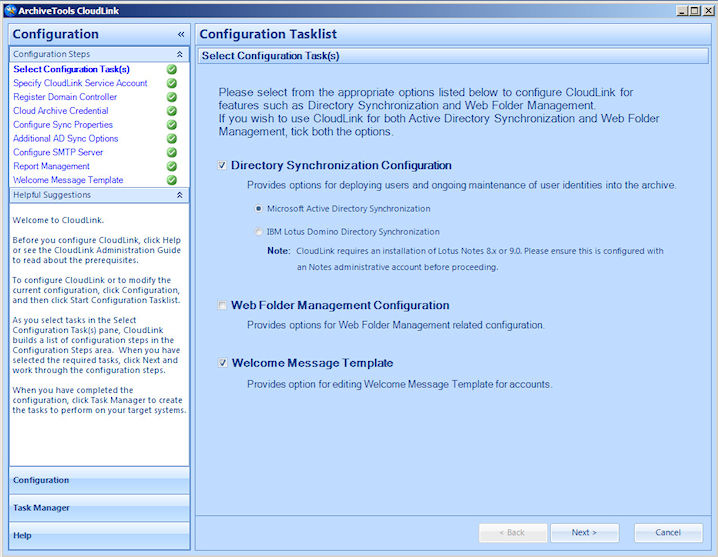
On the Select Configuration Task(s) page, select the required configuration tasks:
-
For Google account synchronization select Directory Synchronization Configuration, and then selectMicrosoft Active Directory Synchronization.Note: Do not selectWeb Folder Management Configuration. This option is not applicable for Google Sync.
-
If you want CloudLink to be able to send welcome messages to users who receive Insight Personal Archive archives, select Welcome Message Template.
-
As you select options on the Select Configuration Task(s) page, CloudLink populates the Configuration Steps area dynamically with the required configuration steps.
-
Click Next to save your tasks and continue to the next configuration step.
Note the following about working through the CloudLink configuration steps:
-
When you configure CloudLink for the first time, we recommend that you work through the configuration steps in the order in which CloudLink presents them. When you have completed a step, click Next at the bottom of the configuration page to go to the next configuration step.
-
Alternatively you can navigate between steps by selecting any configuration step in the Configuration Steps area. However, some steps cannot be selected until earlier steps are successfully completed.
-
CloudLink marks with a green checkmark icon any steps that you have successfully completed.
-
When you have finished the configuration you can return to any step to change its values if necessary.
Related information