
Exporting emails from Advanced ECA search
To export emails from Advanced ECA search
-
On the Investigations tab, selectManaged Accounts>Advanced ECA.
-
Select the Advanced ECA search in which you want to filter the records and export the required emails from the search.
The search result opens in the right pane.
-
Set the filter options and click Apply to view the filtered items.
-
In the right pane, select the emails you want to export.
-
Click Export , and do any of the following:
-
Click Export current page to export emails that are available on the current page.
-
Click Export selected emails to export all the selected emails from the search.
-
Click Export all emails to export all the emails available in the search.
-
-
In the Export Options dialog box, do the following:
Message Format Select the appropriate message format. By default, the PST format is selected. The available message formats are\: - Clearwell - EML - EML with EDRM - PST with EDRM - MSG with EDRM - FTI-RingTail - EDRM Only - PST - OriginalEDRM If you select this option, the exported file includes emails in both MSG and EML formats, allowing you to work with the emails in the format that best suits your needs. Besides this, the exported file includes additional files, namely - edrmXML.xml and HTMLReport.html in their original formats. These files facilitates a smooth transfer of electronically stored information (ESI) between different software programs during the electronic discovery process. - Original If you select this option, the exported file includes emails in both MSG and EML formats, allowing you to work with the emails in the format that best suits your needs. Note: TheOriginalEDRMandOriginalmessage formats are available to the users that are listed in theConfiguration_Overridentable in the Arctera Unified Platform database. If you want to avail these options in theMessage Formatdrop-down field, contact Arctera support. Include Journaling Envelope Select this option to include journaling envelopes, which contain information about email recipients such as distribution lists. Enable AES-256 Encryption Select this check-box if you want to secure the access of the downloaded export batch. Export Name Provide the name for the batch you want to export. By default, it takes the Search Name. You can change it if required. Export Password Enter the password that you want end user to provide when they access this exported batch of messages. Confirm Password Repeat the same password for confirmation. Generate Azure SAS URL Note: Users can see this button only if theExport to Azure private storage locationfeature in the Arctera Management Console is enabled for them. Users can export items to their private Azure Blob storage location. Click Generate Azure SAS URL to get the Azure Blob SAS URL to access the location and save it for future use. For security reasons, the application does not show this URL the next time. However, if the SAS URL is misplaced for any reason, click Generate Azure SAS URL again to generate a new SAS URL and save it securely. After you click Export on the Export Options dialog box, all the selected items are exported to the Azure private storage location. You can use Microsoft Storage Explorer to access the exported items. Share Export Click Select Admin to choose the recipients of this batch export and click Update . Note: You need to manually share the Export Password with the administrators and follow all the security specific rules of the organization. -
Click Export.Note: The exported batch can either gets downloaded as a single or multiple file segments.
-
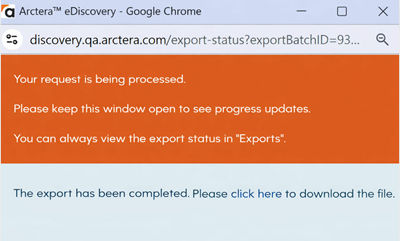
Click Click here to download the exported batch of messages.
-
To confirm the status of batch export, on the Investigations tab, selectExports , and search this export batch name.
Related information